DIY
Botanical Gift Wrap
Garden Inspired Gift Wrap
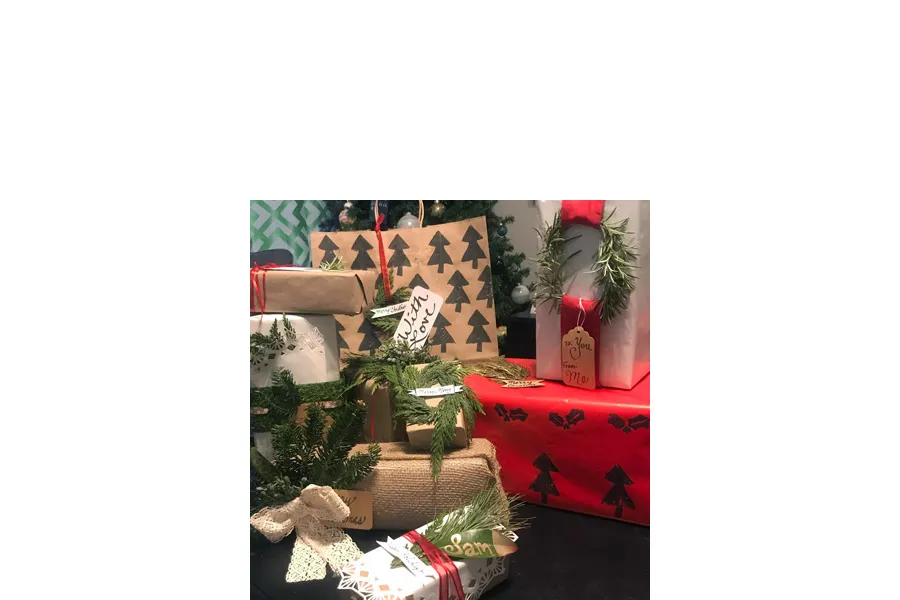
The wrapping on a gift can be just as special as the gift inside! Here's a little inspiration to take your gift-wrapping skills to the next level and create Instagram-worthy packages with a little help from your garden.
Supplies List
- Garden clippings of your choice (We used cedar, fir, pine, rosemary, juniper, and magnolia leaves)
- Craft paper, plain wrapping paper, or paper grocery bags
- Remnant fabric like burlap
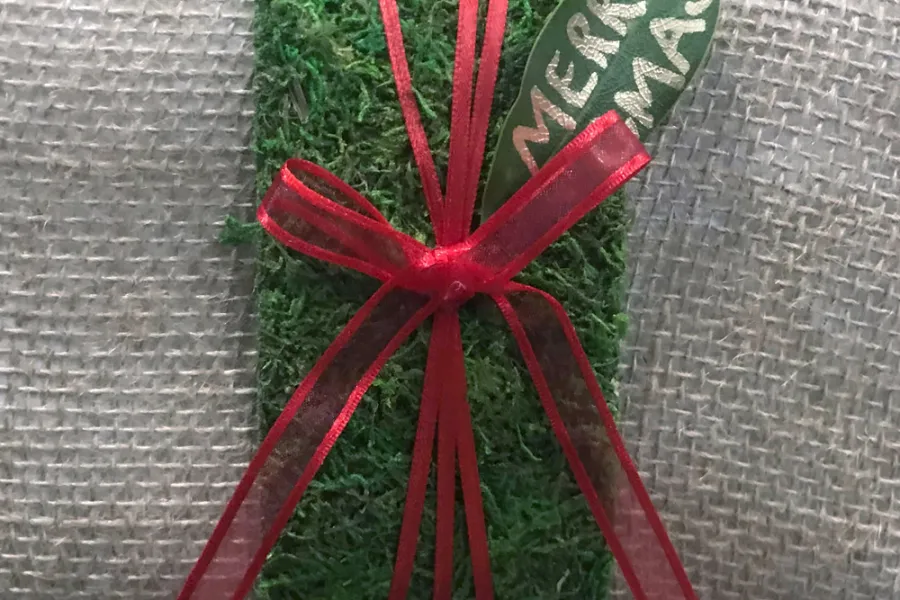
- Sheet moss or moss ribbon
- Various twine, ribbon, paper tags and scraps of craft paper
- Paper doilies
- Potato & acrylic paint in color of your choice (we used matte black) & a basic paint brush
- Gold paint marker and gold spray paint
- Calligraphy marker
- Scotch tape, hot glue, scissors and garden pruners for clippings
_________________________________________________________________________________________________________
Wrap It Up
Rather than the usual paper covered with Santas and snowmen, try something a little more sophisticated. Plus, you can find ways to save money and be eco-friendly by upcycling items you may have around your house already!
- Brown, black or white craft paper or tissue paper
- Got wrapping paper from a past birthday or other occasion? Turn it over and use the plain side.
- Paper grocery bags turned inside out (or re-use the kind with handles)
- Remnant fabric like burlap, muslin or lace
- Black/white newspaper (or the comics section for a kid or kid-at-heart)
- Old sheet music, old maps or blueprints, pages from an old book
- Re-purpose old cigar boxes or stationary boxes
- Got some sheet moss from a gardening project? Use it to wrap a special gift for a plant lover.
_________________________________________________________________________________________________________
Tie It Off
Go beyond the adhesive pre-made paper bows and get crafty with the finishing touches on your gifts!
- Twine
- Decorative ribbon (use 2-3 types across all your gifts for a consistent look)
- Strips of fabric (layering 2-3 types of varying width on a gift can create a very high end look)
- Try different wrapping techniques like small twine wrapped around the package several times, one simple ribbon off center, or ribbon stripped down the center of all 4 sides for a traditional looking package.
_________________________________________________________________________________________________________
Decorate
Plain paper doesn't have to stay plain. You can decorate craft paper, tissue paper or plain wrapping paper to create a one-of-a-kind design.
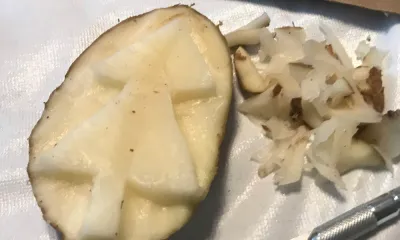
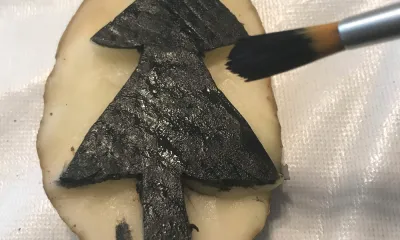
Use a potato to create a stamp & stamp out a design like a Christmas tree or holly. This is a great way to involve kids in the gift wrapping process, too. Simply cut a potato in half and use a small blade like an X-acto knife to cut away the flesh so your design is raised up; stick to simple designs to keep it easy. Lightly brush on acrylic craft paint and stamp onto your paper.
Try decoupaging interesting foliage like fern leaves onto the paper, or use spray paint with foliage to create a pattern on the paper
Step 1
Use a knife to carefully carve a simple stamp from a halved potato.
Step 2
Apply an even coat of paint, stamp, and repeat.
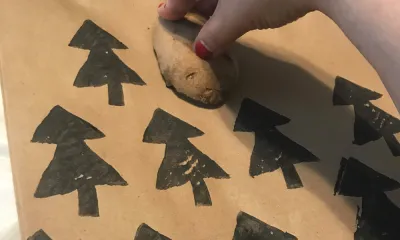
Step 3
Create a pattern on a grid, at random, or on select areas.
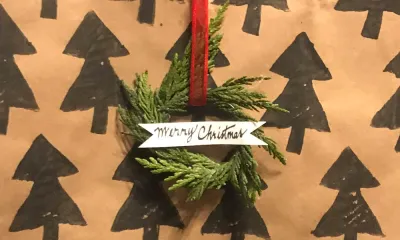
Step 4
Use your paper to wrap, or if you used a bag, add a tag for a finished look.
_________________________________________________________________________________________________________
Top it off
- - Clippings from your garden - like of rosemary, juniper, eucalyptus, fir, cedar, holly, boxwood, or winterberry are an economical way to add a lot of character and style to your gifts
- - Spray paint clippings with gold or silver, or dust on white paint and/or glittery for a snowy look
- - Tiny pine cones add a rustic touch
- - Preserved moss can add a touch of color or additional texture
- - Paper doilies can create an achor for your clippings, or fold like a cone and tuck clippings inside like a bouquet
- - Use some small decor items like an ornament or faux florals
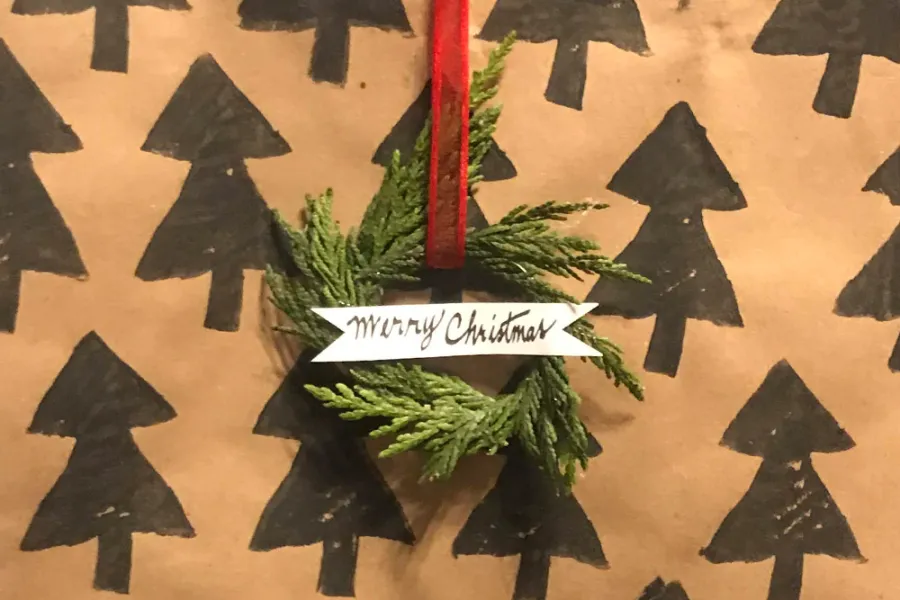
Tiny wreaths made from garden clippings like cedar are super cute! Simply use a small, very pliable stem, loop into a circle and use floral wire or hot glue to secure. Follow the steps below using your favorite winter foliage.
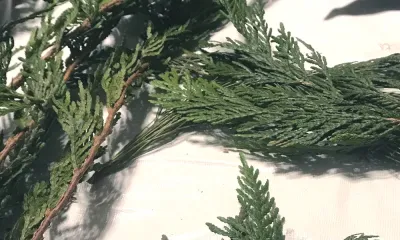
Step 1
Forage your garden for clippings of your favorite evergreens
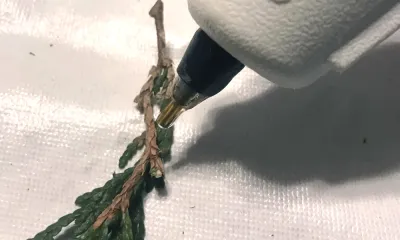
Step 2
Use hot glue to layer tiny clippings of evergreen foliage
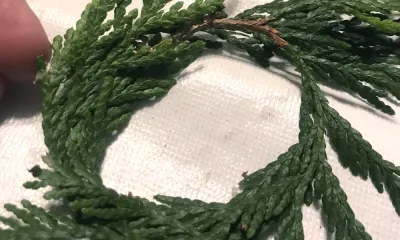
Step 3
Continue layering until you form a circle & reach the desired fullness
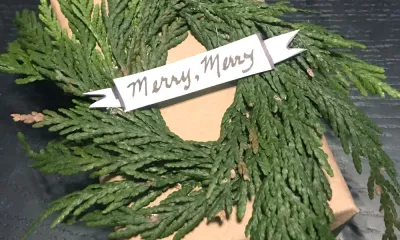
Step 4
Attach to any gift, for a fragrant and thoughtful touch.
_________________________________________________________________________________________________________
Don't Forget the Tag
You gotta let everyone know who the package is for. The name tag is another opportunity to make it special.
- - Use any plain paper tag and jazz it up with a tiny clipping of rosemary, fern or other greenery
- - Write the recipient's name on a magnolia leaf in metallic paint pen
- - Write the recipient's name on an herb marker in chalk or marker (depending on the type)
- - Use scraps of various craft paper to create little flags or banners with added messages like "Merry Christmas," "Ho, Ho, Ho" or "With Love."
