DIY
Pumpkin Topiary
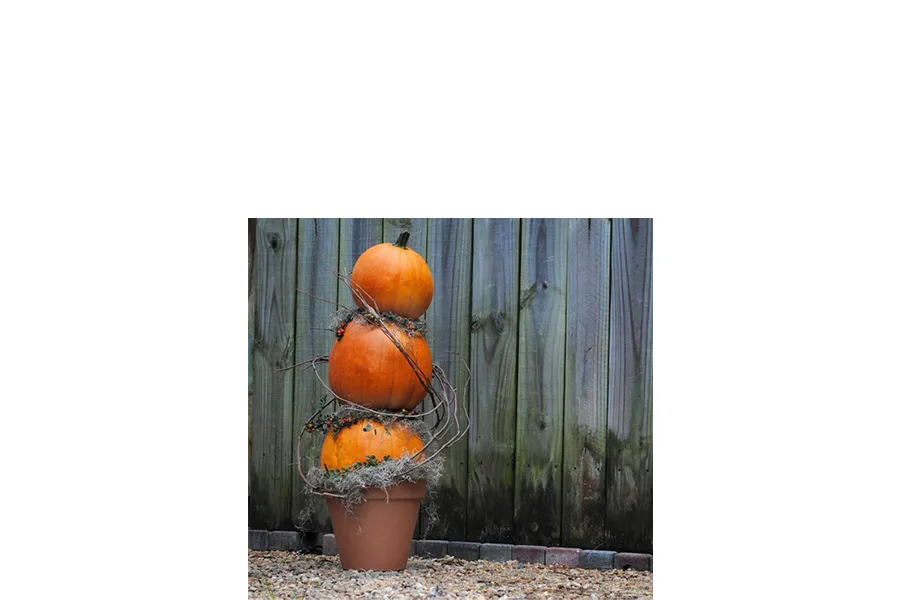
Pumpkin Topiary Project
Create a pumpkin topiary that will last throughout fall. Play with different sizes and shapes of pumpkins to create a topiary to fit your space and décor style.
Step 1: Choose 3 pumpkins in varying sizes that are somewhat flat on the top and 1 'pumpkin pie' pumpkin.
Step 2: Get a pot that is slightly smaller in diameter than your largest pumpkin.
Step 3: Remove the stems of the 2 smaller pumpkins
Step 4: Rest the largest pumpkin on the rim of the pot and stack the next smallest on top.
Step 5: To add stability to the pumpkin topiary, drive a short wooden dowel that is sharpened on both ends through the stack of heirloom pumpkins by hammering it with a mallet. Leave a bit of the top of the sharpened dowel exposed. ( If they are stable enough, stack them without the dowel and they will last longer).
Step 6: Place the pie pumpkin on top of the stack pushing it down onto the dowel.
Step 7: Add Spanish moss in any gaps between the pumpkins.
Step 8: And, for a finishing touch wrap vines and berries from your garden around the pumpkins loosely.

Shopping List
- 1 - 20 Inch Pot
- 2 - Medium Pumpkins
- 1 - Pumpkin Pie Pumpkin
- 1 - Spanish Moss bag


